Matte Painting Assignment
January 2, 2015 at 7:49 pm
— I’m in the process of editing this post. Both breakdown and final video will be up within the next week. —
Another assignment we were set this year was ‘Matte Painting’. This was something I had not done before but having lots of experience with Photoshop proved to be invaluable. The aim of the project was to take a photograph, edit it in Photoshop and finally create a 2.5d camera move using Nuke. After scouting out potential locations in and around Bournemouth, I settled on a quiet alleyway near the cinema (that last year’s 3rd years used for their final major VFX project, famous alley huh?). The location was set, all that was needed was to hire out the camera and get up early the next day ready for the shoot.
It was a bright but overcast day – which was good as I could demonstrate a nice sky replacement. I took over two hundred photos (some for the actual base image, and others for source and texture reference ready for patching). It was naturally dark, so had to compensate in shutter speed, though this was not a problem as it was a very quiet alleyway and I was using a tripod.
After collecting all the reference I needed, I was ready to take the image into photoshop, create an HDR and plan exactly what I needed to replace/add to get to my final image in mind. Roughly painting over the image in a separate layer helped me visualise what I wanted. Next came the most time-consuming process in the whole of the project – trawling the internet and my stock photo library for the right photograph. Aside from the monotony and the length of time it takes, I found it to be essential in order to make a successful piece. It is very rare that you will find a source that has both perfect perspective and lighting (which makes spotting something that could potentially work all the more difficult). Taking something that fits approximately and editing it takes skill to integrate correctly – but is very rewarding once done.
After editing the picture in Photoshop, it was time to create the dummy geometry in Maya. This was another difficult process, due to the fact that I had not done this before and it was very hard to match everything up exactly. I discovered during this process that some elements in my image were not correctly in perspective, but as they were in the background it did not matter as much. This process could have been made much more difficult had I not used perspective lines in order to match up the source images in photoshop.
The final stage was bringing projecting the image onto the dummy geometry within Nuke. Once again something completely new to me. Once I got started I found it relatively straight forward. I really enjoy using Nuke as it’s very methodical. I also animated the camera within Nuke. It was so exciting to see my hard work pay off, as the camera panned through this strange new alleyway. I rendered out the last frame that needed to be patched in areas and fixed in within Photoshop.
I really enjoyed this project and could definitely see myself doing this within the industry. It’s very different to animation or rigging, but really enthralling in it’s own way.
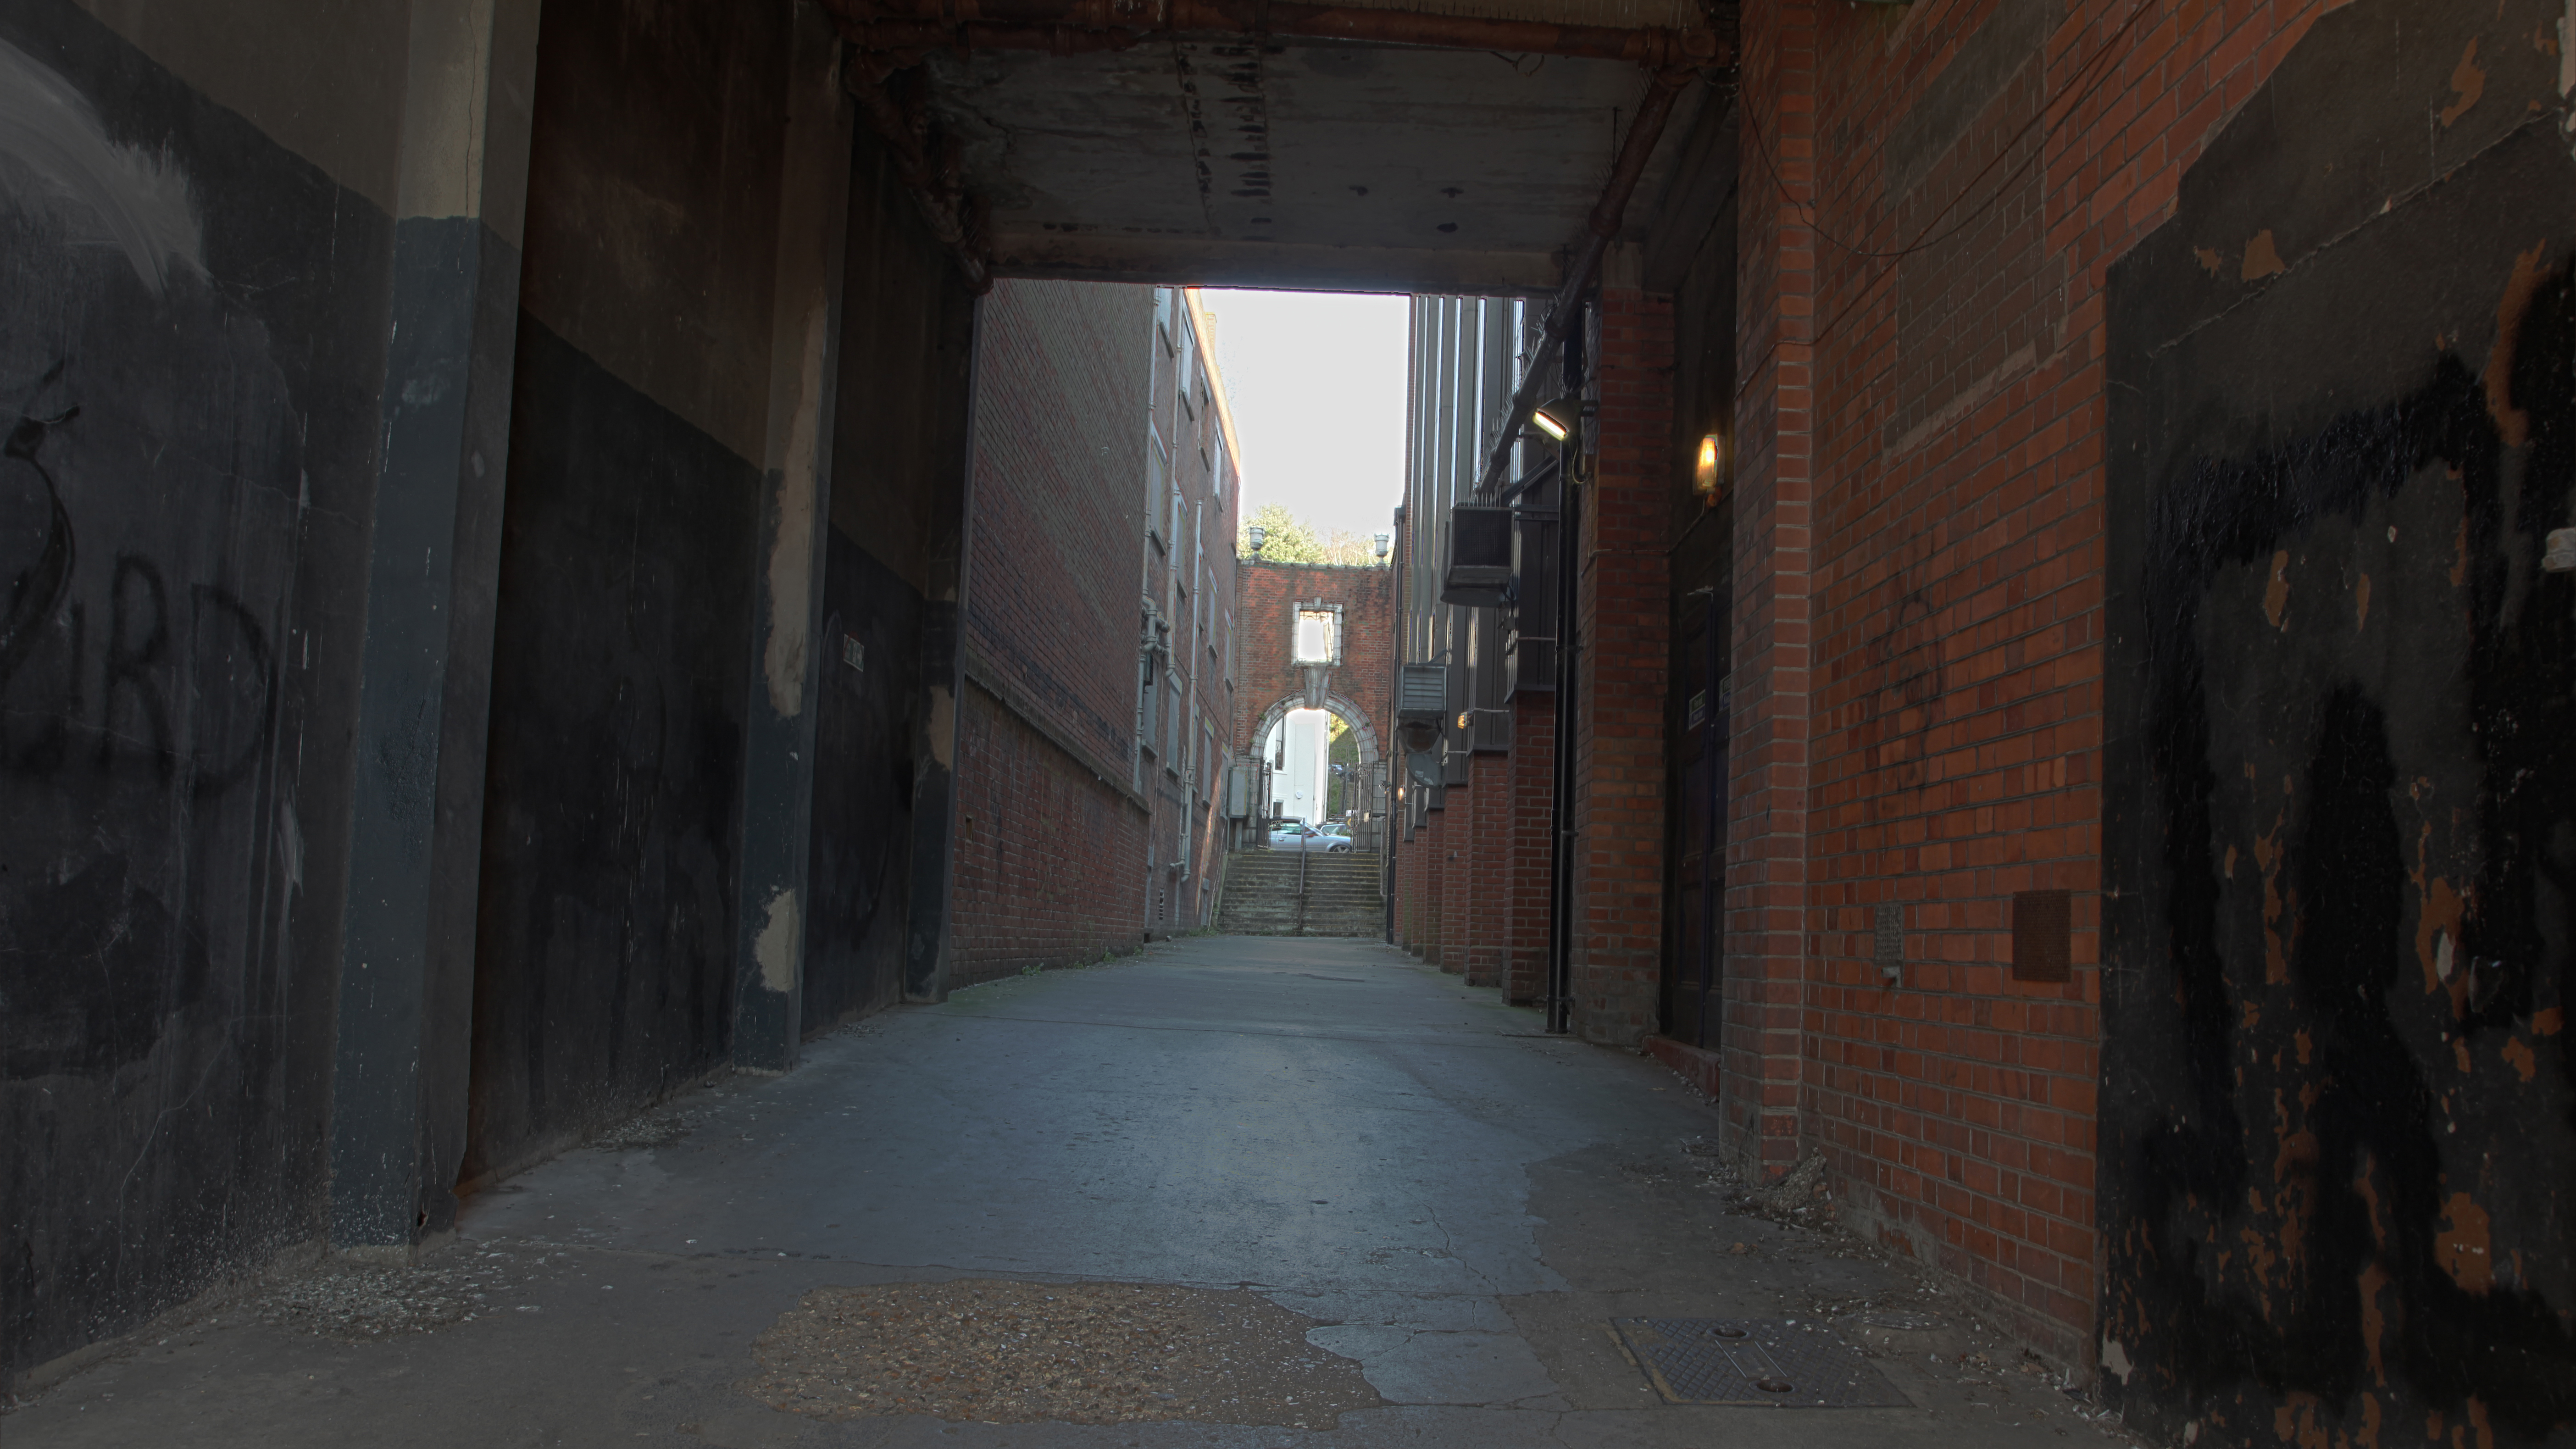
Original:
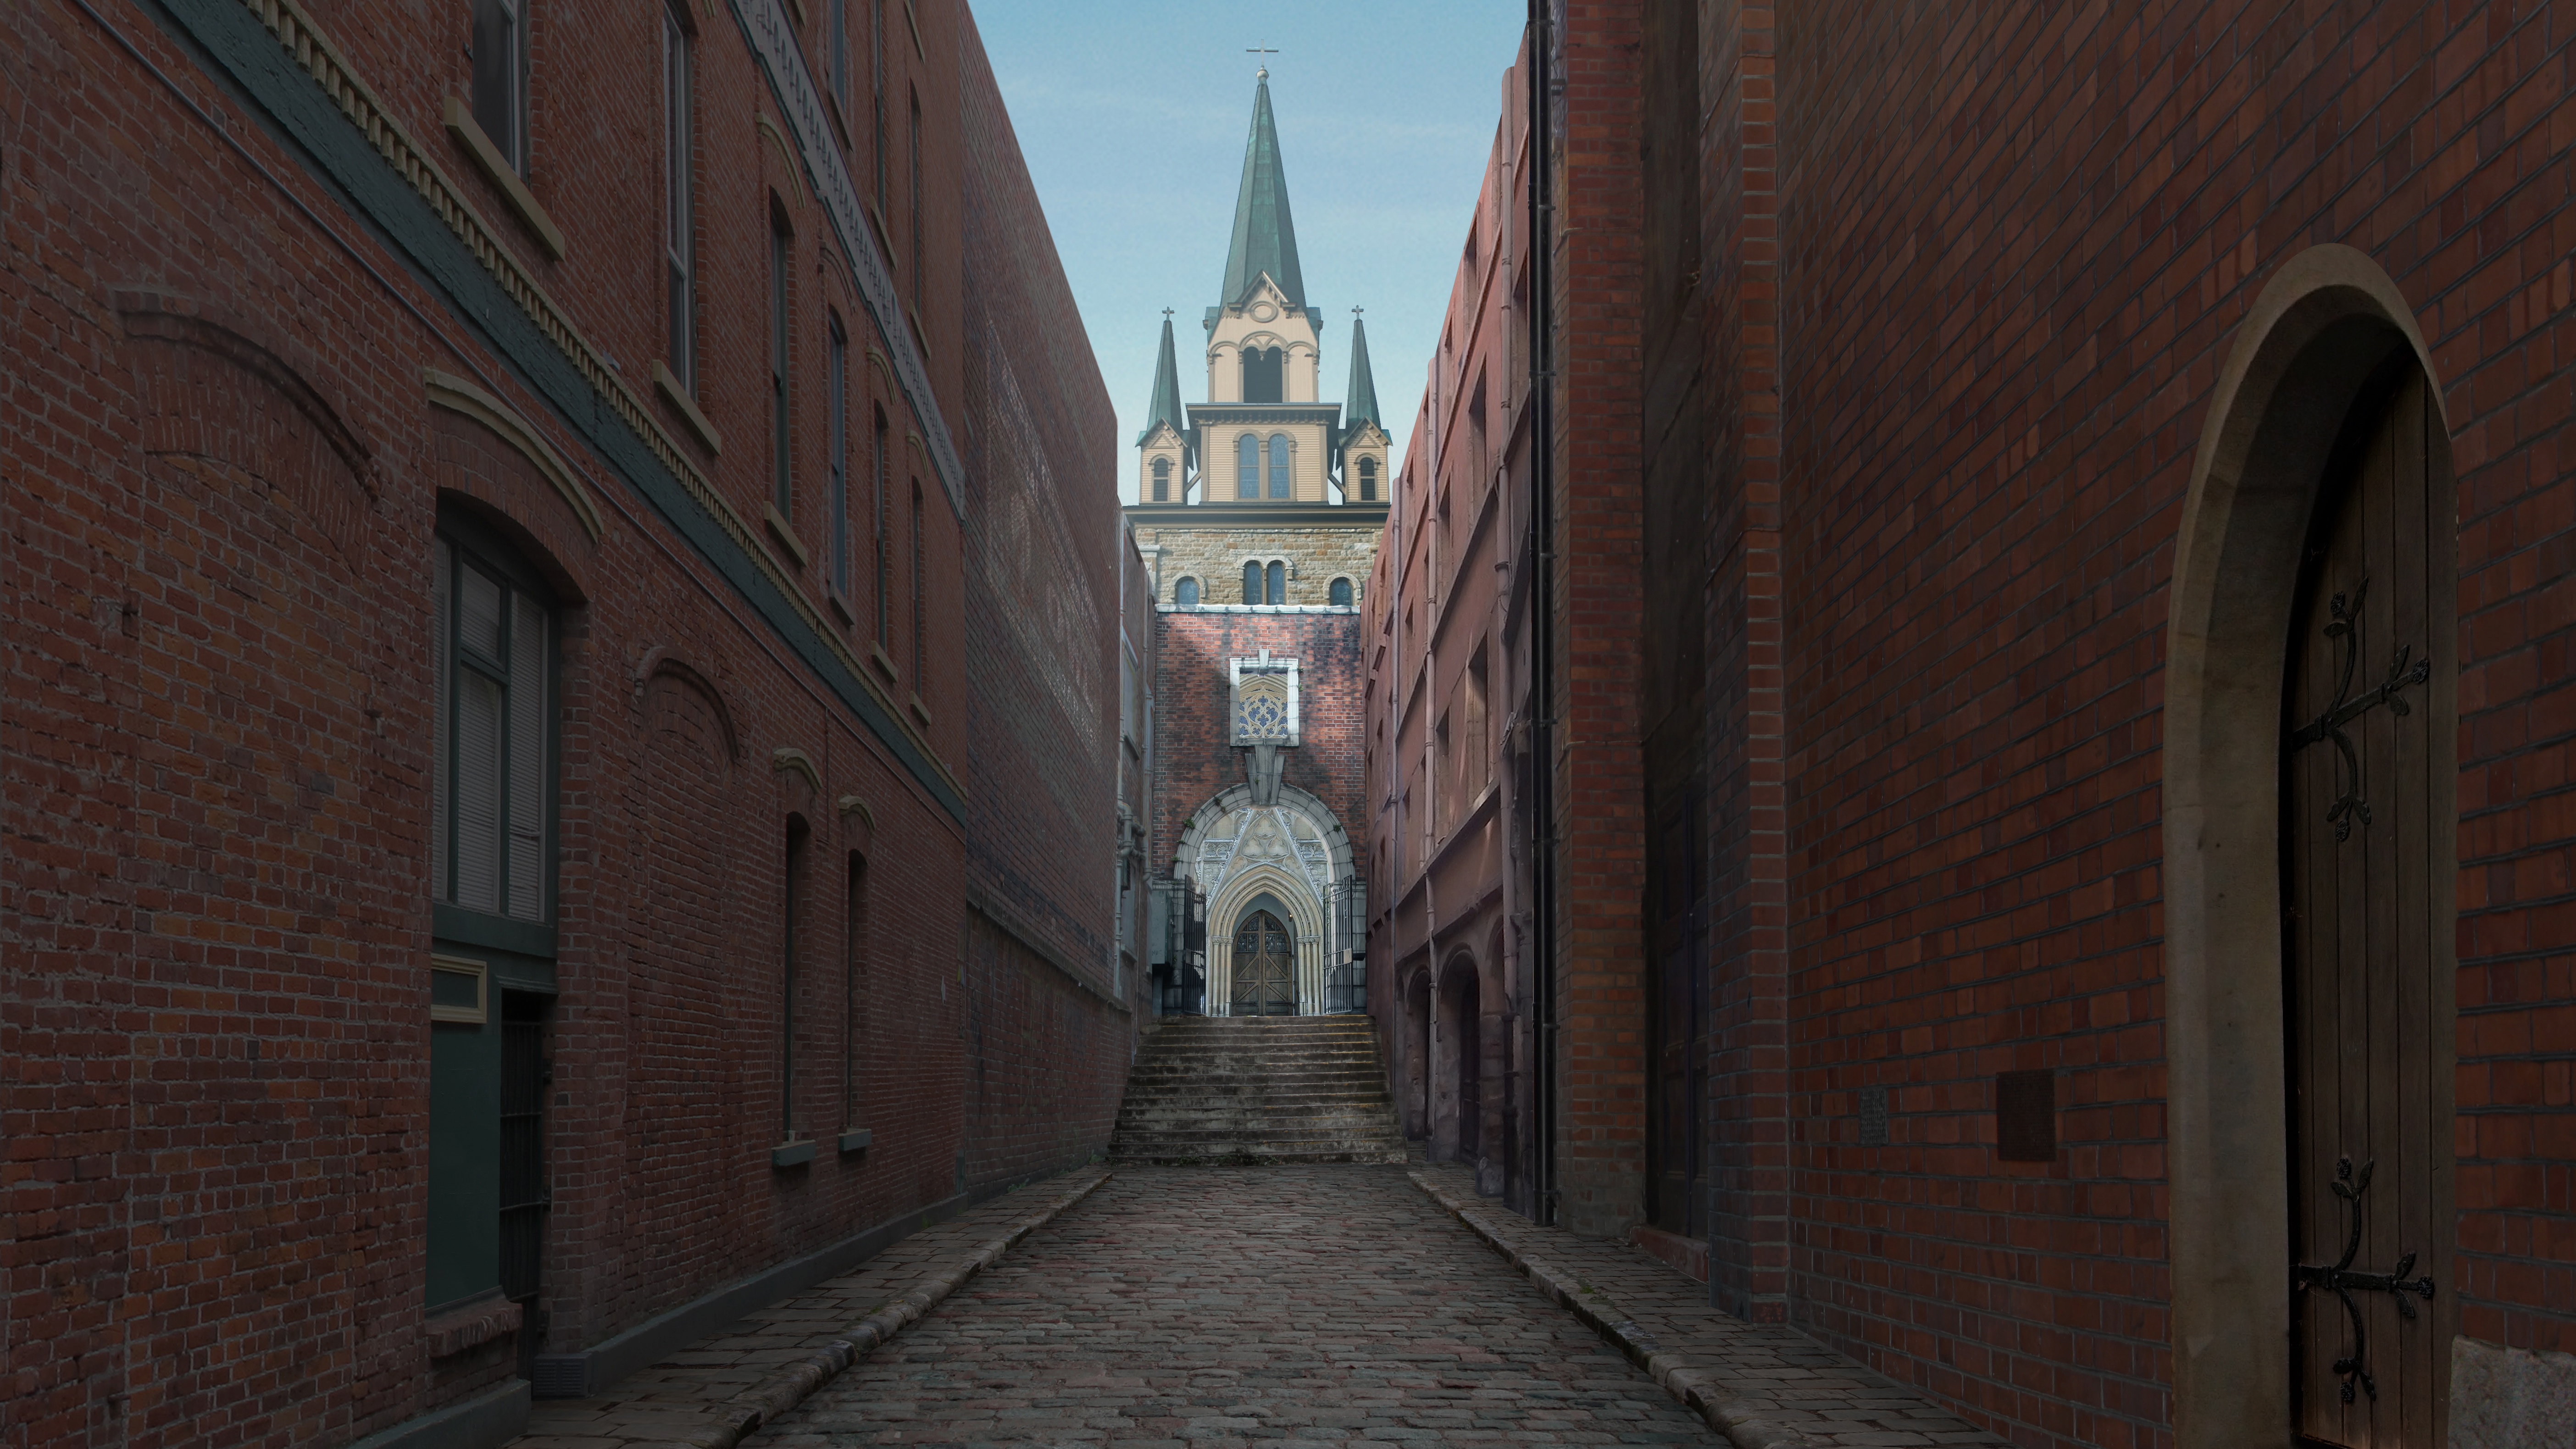
Editted: